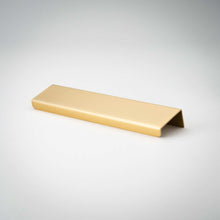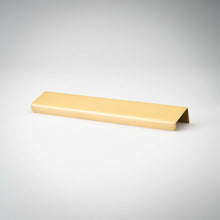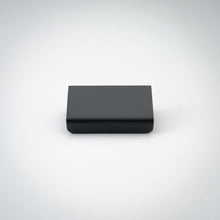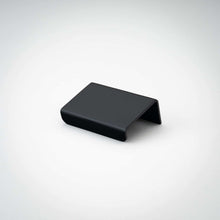
- This product is not available in brick and mortar retail stores.
Perfect for:
- High use areas
- Kitchens, bathrooms, furniture
Material:
- Handmade of solid brass, electroplated in the finish of your choice
Save More:
- When you purchase 2 or more of this piece, each piece is discounted by $5
- Savings applied at checkout
Stock Finishes:
-
Stock Finishes:
- Satin Brass (lacquered)
- Antique Brass
- Polished Nickel
Custom Finishes:
- Polished Brass (lacquered)
- Satin Nickel
- Polished Chrome
- Matte Black
- Oil Rubbed Bronze
- Unlacquered Brass, Polished Copper, Satin Copper, Gold, and Pewter
- Available upon request
- Typical production lead times are 4-6 weeks
- Please contact us for an up-to-date lead time and price
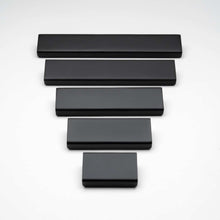
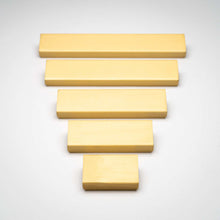
Available in Many Lengths:
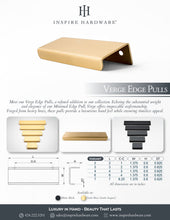
2" (1" C-C)
3.25" (2.5" C-C)
4" (3" C-C)
6" (4" C-C)
7" (6.25" C-C)
10" available as a customer order, inquire for availability
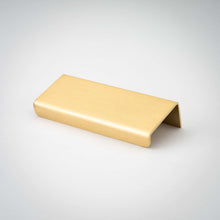
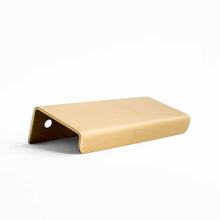
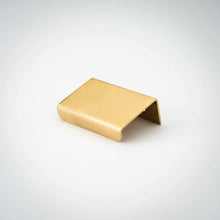
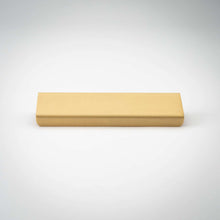
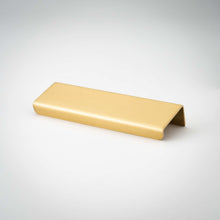
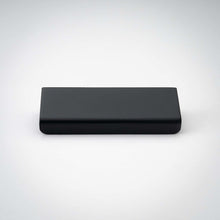
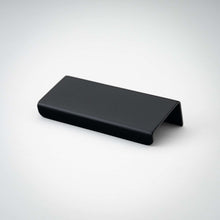
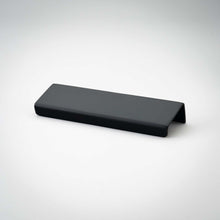
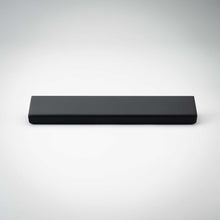
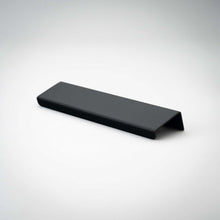
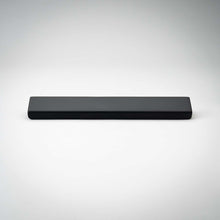
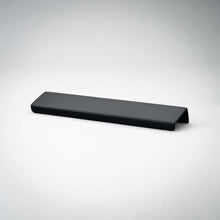
Projection: 1 3/8"
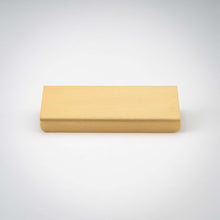
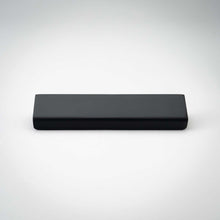
Height of the front edge lip: 0.4"
Height of the back: 0.8" (where it attaches to the cabinet)
Thickness: 1/16"
This means you need 1/4" clearance above or beside the cabinet door or drawer that the edge pull will be installed on.
Note the pull attaches to the back of the cabinet door or drawer front
Wood screws are provided with all orders
Pre-drilling screw holes is absolutely required for proper installation
Shipping:
- Ships within 5 business days from Seattle, Washington
Shop with Confidence!
- If you don't love the item simply return it.
- See our comprehensive return policy here.
Installation Instructions (click here or see below):
- For new installations, pre-drilling holes is required. Important Note: If you do not pre-drill holes, you risk the screws snapping inside the cabinet. Inspire Hardware is not responsible for any installation issues if these installation instructions are not followed.
-
Steps:
- Place the edge pull on the cabinet where you would like to install them.
- Once you’re happy with placement, from the back of the cabinet door or drawer, use a pencil to mark the screw holes. If you don’t want to mark up your cabinet, you can use a piece of painter’s tape in the area where the screw holes will go, and make the marks on the painter’s tape.
- Take your drill and 3/16” drill bit, and set the bit to the depth of the screws provided.
- Use the drill to pre-drill holes into the back of the cabinet, taking care not to drill through the front.
- Once the pilot holes are drilled in the correct spots, place the pull in the correct spot with the holes aligned.
- Use a screwdriver to tighten the screws into the cabinet. If using a drill for the step, there are risks to stripping the screws or snapping them in the cabinet, therefore it is recommended to use a screwdriver.
- Stand back and enjoy your new hardware!


